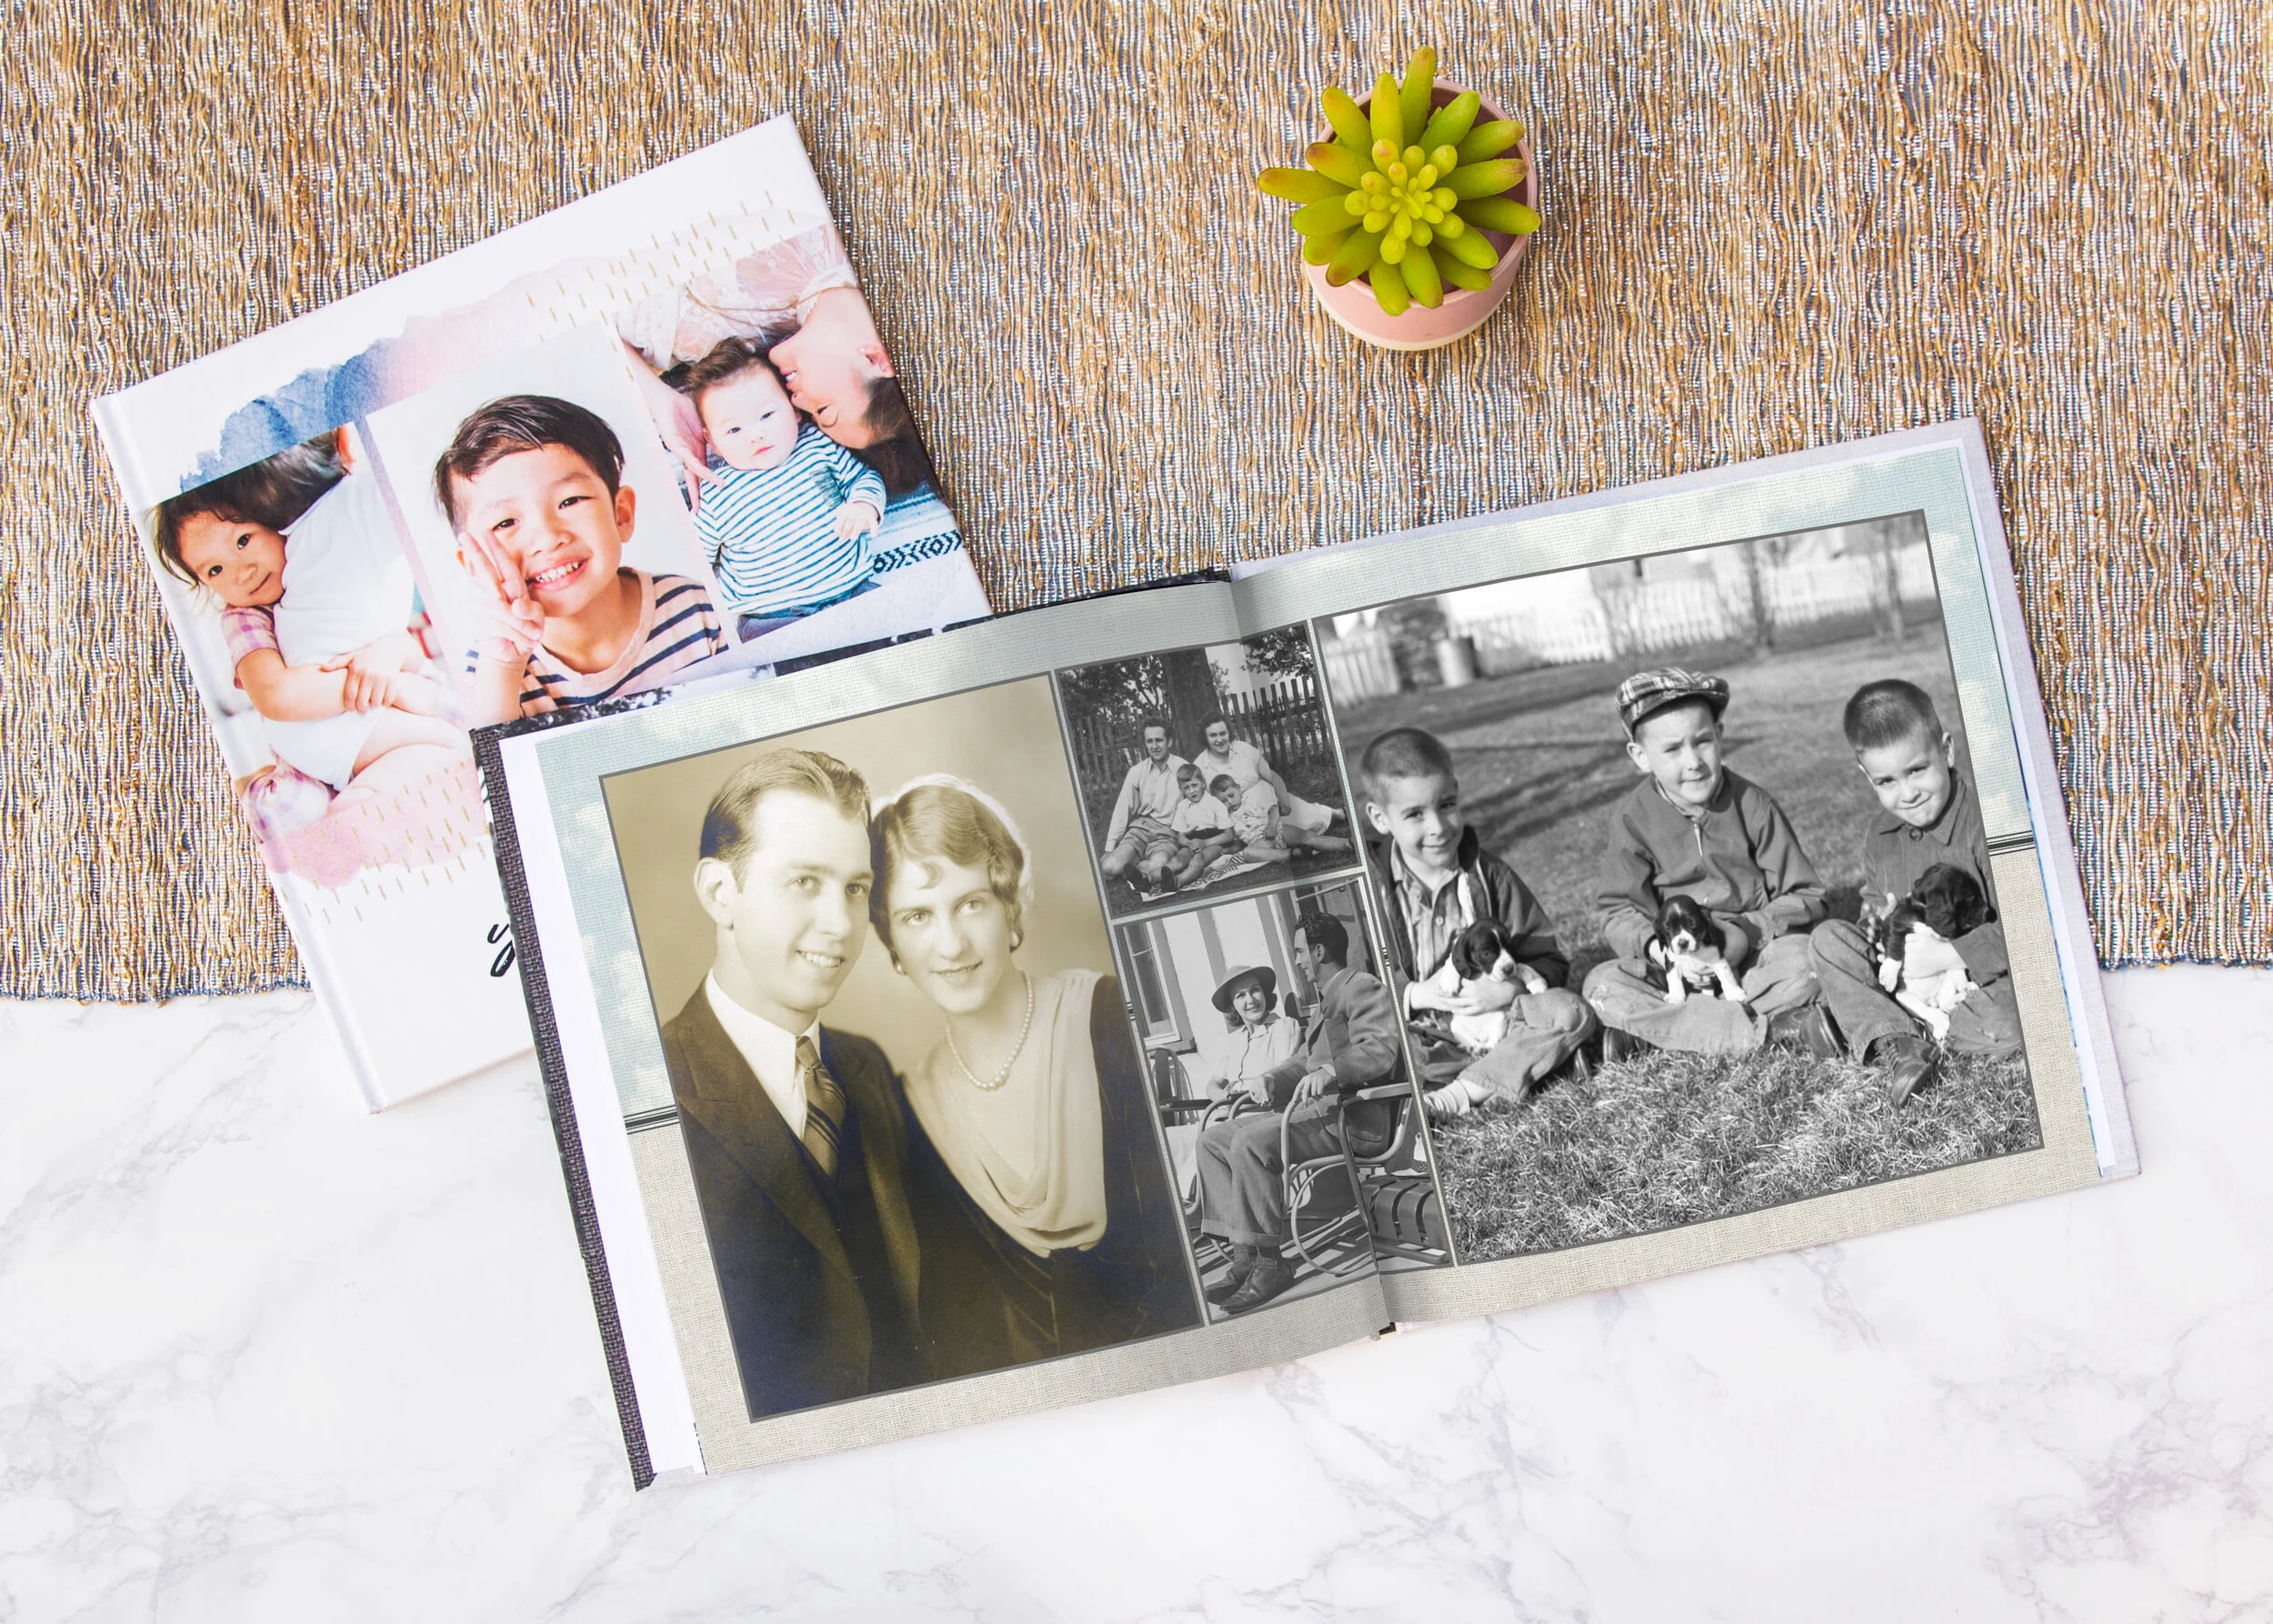
Creating a Family History Photo Book
How to Make a Family Tree for Your Photo Album
Family memories and traditions become precious pieces of the puzzle in your heritage. Weave together the rich threads of your family history by creating a family tree photo album. Learn how to make a family tree for your photo album in just a few easy steps!
A custom family tree answers so many questions about your ancestors and honors your immediate family at the same time. You can make a large or small family tree based on your needs.
Keep reading to discover how to make family tree designs using Mixbook’s versatile and user-friendly editor.

How do you make a family tree chart?
Making a family tree chart is often easiest on paper first, starting with yourself and working backward. Draw a family tree with boxes and names, featuring the matriarch and patriarch of the family (often grandparents) at the top two spaces. Draw lines down from each set of parents to their children, and likewise for the children’s children. Marriages will come in on the sides and new branches grow underneath each couple for the children.
Mixbook’s software makes it so easy to create beautiful family tree layouts for any project.
Who should be on my family tree?
When designing a family tree photo book, you can choose to make a simple or complex family tree. Create a simple family tree with your immediate family – your children, siblings, spouse, and parents. For a more complete and complex family tree, include aunts, uncles, and cousins.

What do you need before making a family tree?
Before designing a family tree photo book, gather photos of each person you plan to include. Also, confirm correct spellings of full names, including maiden names and middle names. Determine how many generations you can identify to see the scope of your family tree.
How to Make Family Tree Layouts
Creating a family tree design for your family history photo book adds a truly meaningful element you can’t achieve with standard themes and stickers. This special feature is unique to your family alone.

Getting Organized
Organize your ideas and materials before starting a family tree.
Create a folder for all the family tree photos. Include one portrait or headshot for each family member.
List relations and birthdates on a spreadsheet. Outline your family lineage in order by parents to children. Include birthdates and any other special information you wish to include.
Log into Mixbook.com so you can save your work. Then, decide whether you’ll be more comfortable editing an existing family tree template or designing one from scratch.

How to Personalize Your Photo Album
Some of Mixbook’s attractive family history photo book themes already include placeholders for family trees. You can easily personalize the text and add photo fields with your family’s pictures and information.
Follow these steps to customize an existing family tree photo book layout on Mixbook.com.
Choose a photo book design. Browse through the selection of family history photo books to review those with existing family tree templates, such as Our Family Lineage.
Import photos for the family tree. Choose the photos you would like to use for each family member. For best results, pick photos that only include the featured person.
Upload Photos – Choose Add from Desktop or Add from Phone to upload photos from your device.
Add My Photos – Click to select photos from your Mixbook account. Then, click Add to Project.
Import Photos – Add photos from your social media accounts and Google Photos if desired. Keep in mind that social networks compress photos so you will see a quality warning for any that would not print well.
Drag photos to the correct frames. Feature the oldest relatives first, at the top of a vertical family tree or to the left of a horizontal family tree. Click the photo you wish to add and drag it to the frame.
As a simple family tree layout example:Place your mother’s and father’s photos in the first two boxes.
Add yourself and your siblings to the next set of boxes.
Add your partner or spouse next to you.
Include your own children under you and your partner.
If space allows, include your siblings’ partners and their children (your nieces and nephews) in the appropriate spaces.
Enter the names to match the pictures. Double-click the sample text and replace the name with the full name for each of your family members. Double-check the spelling!
Adjust the family tree photo layout to accommodate all family members. You can adjust an existing family tree design to suit your needs.
Too Many Boxes – If you find too many sample “leaves” in the family tree, delete those you do not need. Click the ones you wish to remove and the click “Remove.”
Not Enough Boxes – If you need to add boxes for more siblings, children, or other family members, it is easy to resize boxes and copy/paste new ones.
Resize Boxes
Hold Shift and click the boxes to select all of them at the same time.
Click and drag the corner to make them smaller or larger so sizing is consistent.
Add More Boxes
Hold Shift and click to select any boxes you need to copy to create more.
Hold the control key and C key to copy.
Next, click on white space, and then hold the control key and P to paste.
Move the boxes into the correct position with the mouse or use the keyboard arrow keys.
If needed, you can also delete and resize again for an odd number of boxes.
Review your family tree layout. Make sure photos match the person and spellings are correct.
Consider adding more details. You may wish to include birthdates, military ranks, or other meaningful histories.
Once you get the hang of the family tree layout, you can make even bigger family trees containing much more information.
Tip - Advances in technology with DNA tests and ancestry programs make it easier than ever to discover more about your family history. If you have access to this information, consider cross-referencing your family tree with your ancestry account to make even deeper connections.
How to Make a Custom Family Tree Photo Book Layout
If you want full creative control over your photo album, choose Blank Canvas. This option allows you to use Mixbook’s stickers, graphics, and photo layouts or upload your own designs.
Follow these steps to design your own family tree from a blank page.
Start with a photo layout that you like. Click to select a layout with the correct number of photos for your family tree if possible. You can also reposition, resize, duplicate, or delete photos if needed.
Click the photo placeholders to resize and change their position. Copy and paste to create more photos or delete those you do not need.
Visualize the family tree photo book design you’re making. Figure out how many boxes you will need for yourself and your family and then work backward to include other relatives as desired.
Drag family photos to each photo placeholder. In typical fashion, display spouses horizontally while parents and children connect vertically. Siblings also display horizontally. You should have one row per generation when your family tree layout is complete.
Start with yourself and then add your spouse next to you and your kids under you, if applicable.
Add your parents in photo boxes above you.
Add your grandparents in boxes above them.
After setting the photos in the correct frames, add text boxes for the names. Create one name using a font you like. Copy and paste the box to consistently use the same font style and size for a professional and consistent look. Do one at a time and edit the name for each family member and double-check spelling carefully.
Make the “branches” for the family tree with lines or graphics. Add vertical lines connecting parents and children and horizontal lines between spouses. Use lines that go down, across, and down again to identify multiple offspring from the couples in the family tree.
Tip – Instead, you can use stickers and graphics to act as lines. Consider flowers, feathers, arrows, or other images that have significance for your family.
Add backgrounds if desired. Choose from Mixbook’s selection or upload your own.
Browse through the Stickers to personalize your family tree. Look for family tree graphics that you can resize and customize to suit your needs or upload your own stickers from your device.
Consider making an even more complex family tree. If you like, begin adding photos and names for your extended family (aunts, uncles, cousins, nieces, and nephews).
Review your work. Check your family tree’s photos and text boxes carefully for incorrect image placement and misspellings.
Save your work. You can now use your family tree in ANY Mixbook project!
The beauty of Mixbook is the flexibility and versatility of your designs. You can copy and paste your family tree and any of your other creations into any projects on Mixbook! Simply open any desired project in a new browser tab and copy-paste. You can even print your lovely family tree on stunning wall décor, such as canvases, acrylic blocks, and metal prints.
Best Photo Album Styles & Tips
Here are a few final suggestions on making an amazing family tree.
Photos – Choose high-resolution photographs for your family tree. Look for sharp, focused pictures in good lighting.
Names & Nicknames – Include formal given names as well as nicknames.
Dates – Include birthdays (and date of death for dearly departed family members).
Borders – Add borders to the photo boxes for a family tree that pops. Choose “Add to All” for an easy shortcut to a great design.
Details – Personalize your family tree design with stickers, graphics, backgrounds, and even text quotes as appropriate. Capture your family vibe!
Including great family tree photos build stronger connections between past and present generations. Look for the family resemblance in this priceless and timeless piece of family artwork.
Your family tree captures precious knowledge and emotion for lifetimes to come. Treasure this one and hand it down for each new generation to add their own legacy.
Related Photo Book Products:
professional photo books, professional photo book printing, graduation , bulk photo books, photo book coupons,