
The third stop on our road trip through the Mixbook Editor brings us to where all the magic happens—your Editing Area!
The Editing Area is where your pages will be displayed and all the changes and edits to your project will be made. In the Editing Area, you’ll be able to play with your pages until your Mixbook is perfected!
There are two useful areas that we would like to point out. The first area is in the top right hand corner of the editor. Here you will notice a few different buttons. All editors (photo book, card, and calendar editors) will have the following three buttons:
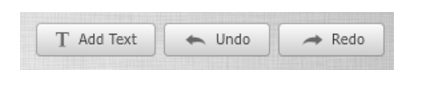
These three buttons will do exactly as their titles say. The [Add Text] button will add a text box to your active page. The [Undo] button will undo the last edit made on your project. If you click this button and decide the previous version looked better, hit the [Redo] button and your most recent edit will return to the page. If the buttons are grayed out (as shown below), you will not be able to use the Undo or Redo feature. This usually means that there is nothing to be undone or redone.

Both the calendar and card editor have an additional button. Here’s a look at the available buttons in the calendar editor:

In addition to the three main buttons, there is also an orange [Manage Events] button. Clicking on this button will bring up the following window in your editor:

From this window, you can check off any holidays and events that you would like to be included into your calendar, and the editor will automatically add them to your calendar!
Here is a look at the buttons in the card editor:

Our card editor has the additional [Edit Info] button, which will bring up this window:

Here, you can enter any details for your card, and the editor will automatically add the information to the card. Please note that the available fields in this window will change depending on the type of card you are customizing.
The second part of the Editing Area you should know about can be found at the bottom of the Editing Area screen.

The View buttons on the far left allow you to manipulate how you view the editing area. Page view will zoom in on the active page. Spread view will allow you to view both pages in the spread simultaneously. Please note that when in page view, it is possible that you will still be viewing both pages. Depending on the size of your editing window, the editor will zoom in on the single page, which may result in part of the other page showing. The screen shots below show an example.
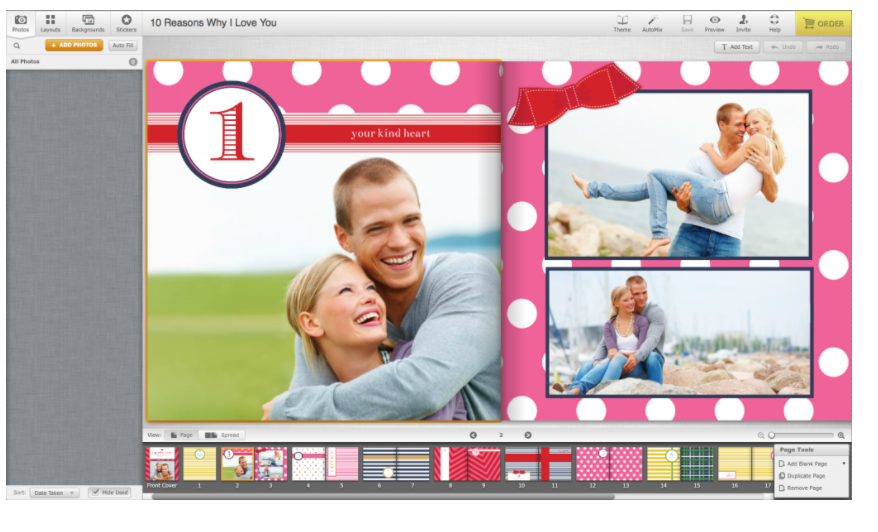
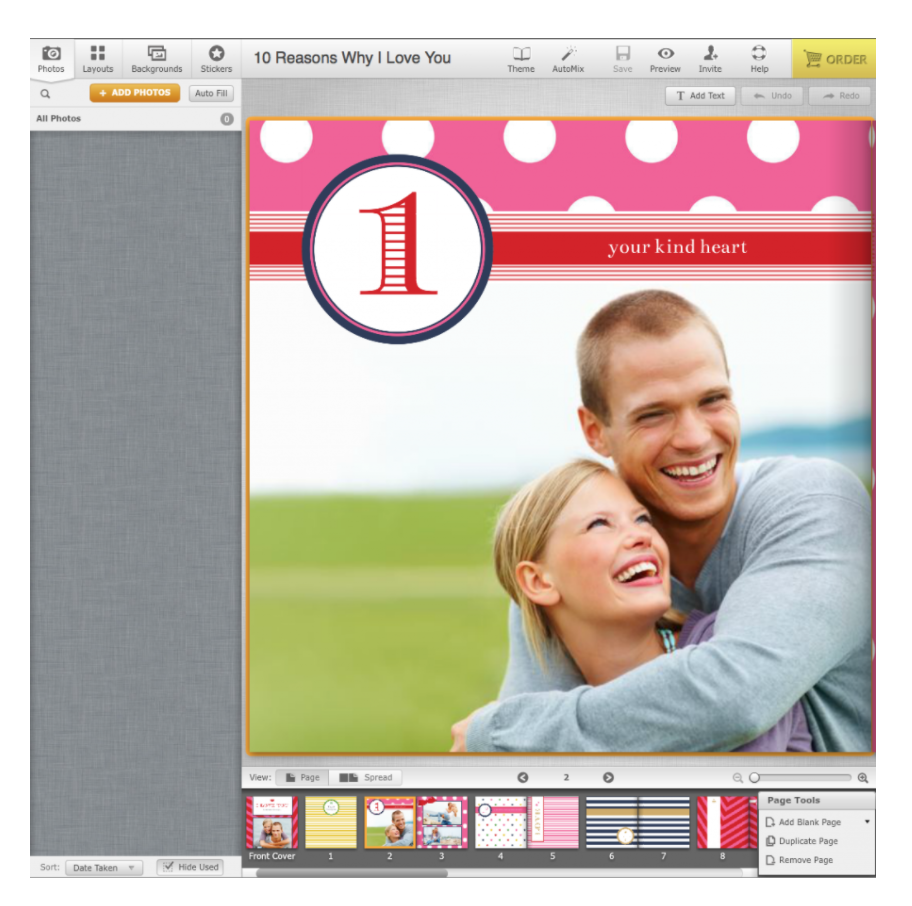
In the first screen shot, our editing window is wider than it is long. In the second screen shot, the editing window is longer than it is wide. Both screen shots have Page view selected.
The middle of the bar will show the active page's page number. The arrows to the left and right of the page number will allow you to navigate through your project.
On the far right is our Zoom slider. You can click and drag the circle to zoom in on the pages you are working on. When you zoom in, a small box will appear above the Zoom slider:


