
7 Simple Tips for Starting a Custom Photo Book From Scratch
7 Simple Tips for Starting a Custom Photo Book From Scratch
Starting a photo book project from scratch can feel overwhelming. Luckily for you, Mixbook has the tools and resources to make designing a custom photo book as easy and intuitive as possible. While everyone’s process for starting a project is different, the goal is universal - create a personalized memento that can be cherished for years to come. Below we’ve compiled a few simple steps to make the process as seamless as possible.
Making a photo book
Step 1 - Choose a Theme or Start from a Blank Slate
Visit the Photo Book page on the Mixbook website where you can find more than 400 themed templates perfect for any occasion. From baby books to wedding albums; year-in-review books to vacation albums themed books, all are fully customizable and can be changed mid-project if you change your mind.

Don’t let blank pages scare you! For users not interested in a particular theme or looking for full-creative control, Mixbook’s Blank Canvas books put you in the driver’s seat and offer unlimited possibilities.
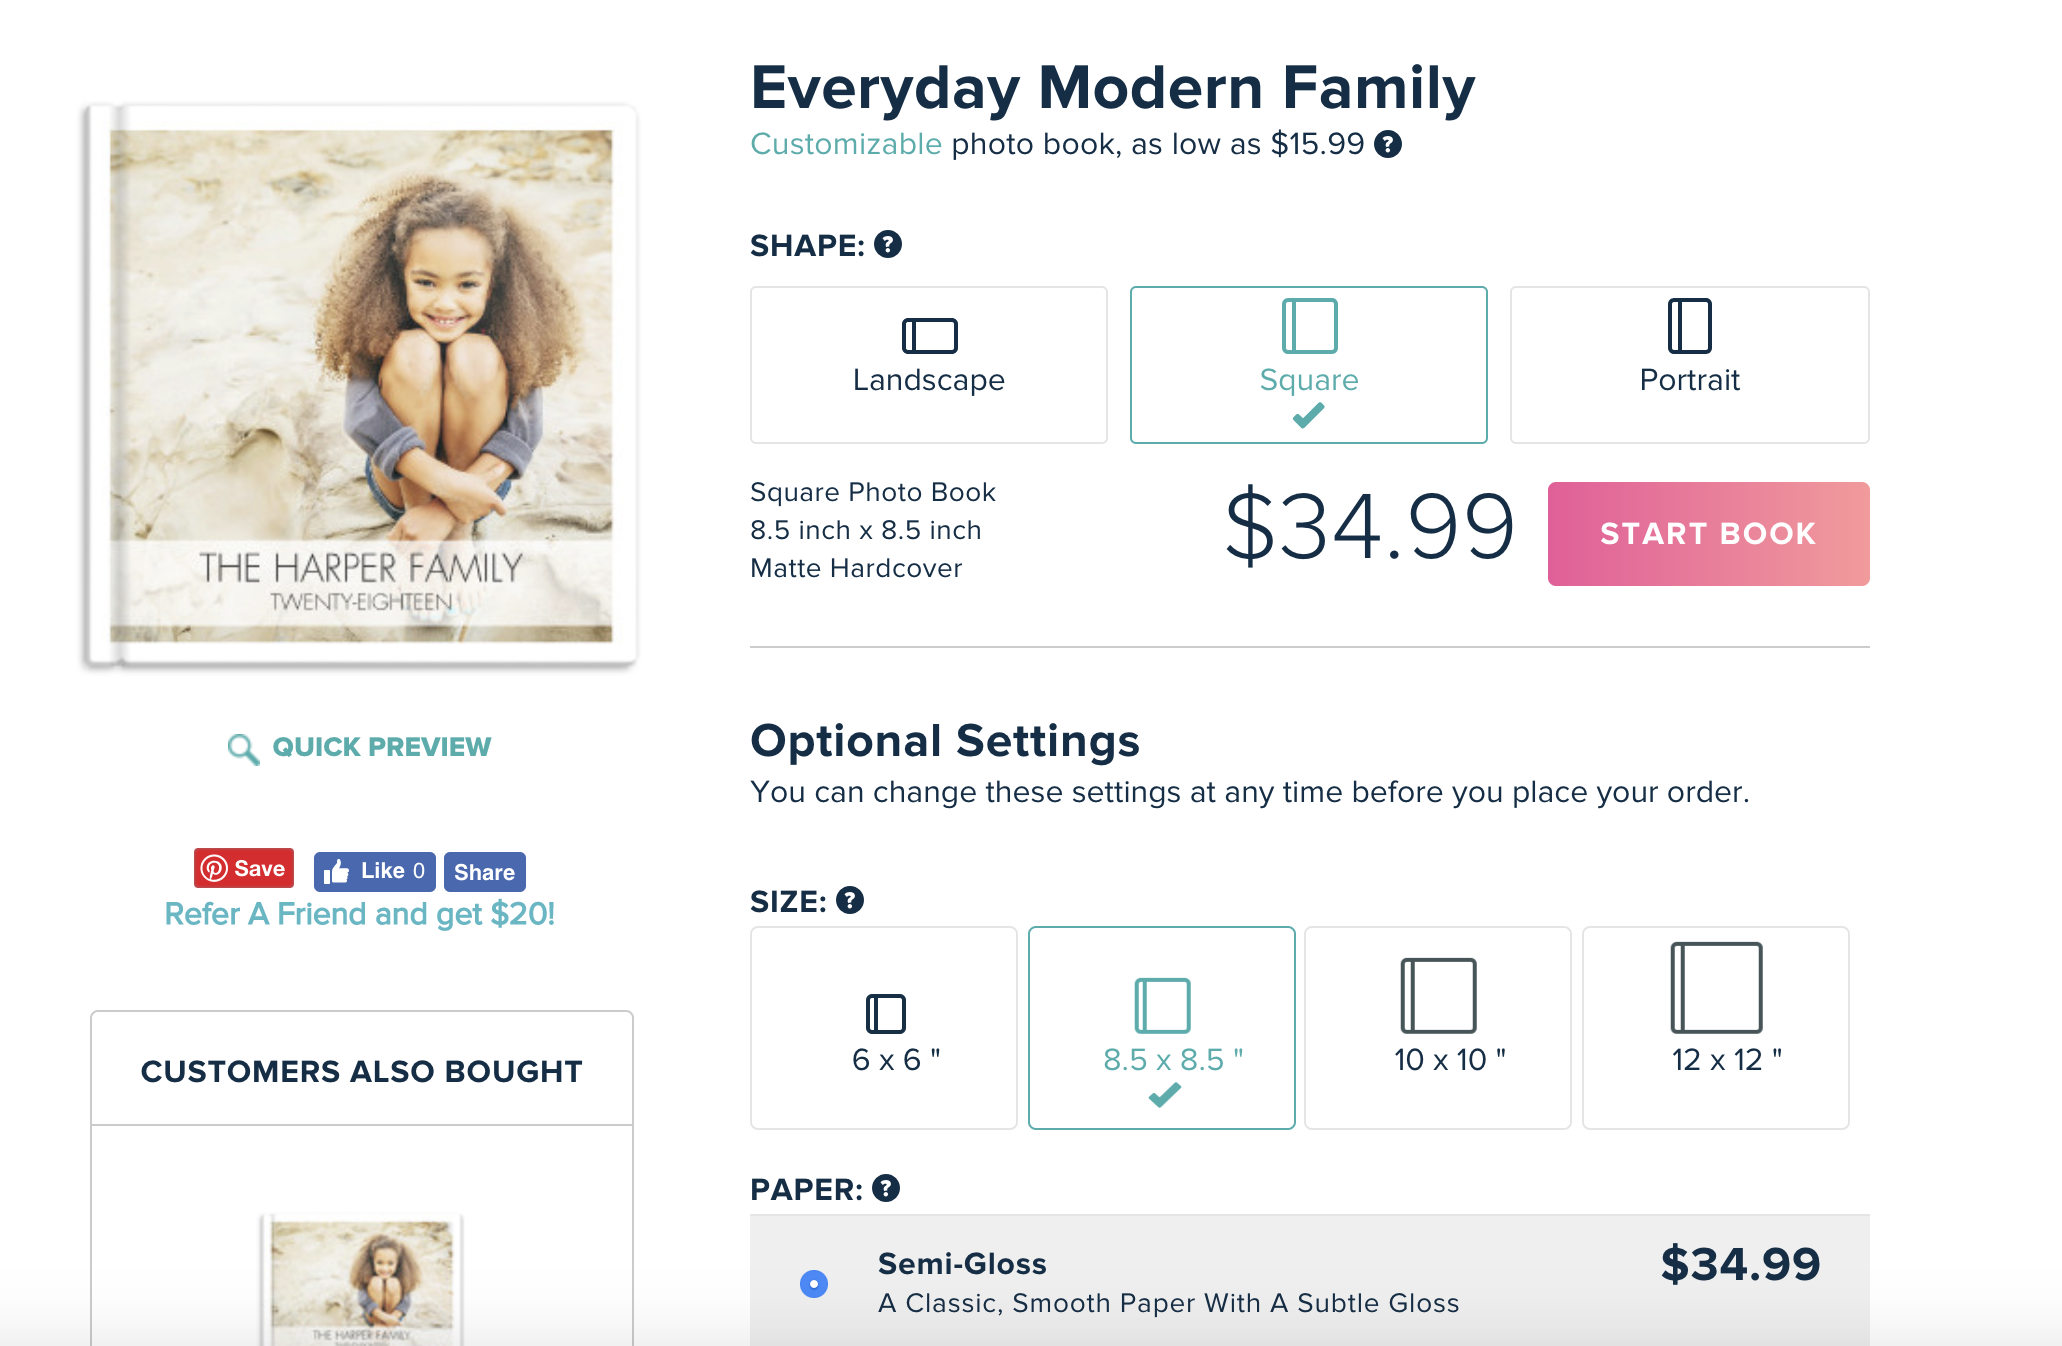
Step 2 - Select Your Materials
After you’ve selected a theme or decided on a Blank Canvas, you’ll be directed to a page where you can choose your book size, book shape, paper types and cover styles. If you’re not sure about the type of paper you want to use or what finish you want for your cover, all of these options can be changed later. However, if you change the book shape (i.e. landscape to portrait) or size mid-project, you may need to reformat any content you’ve already added to the project.
Step 3 - Choose the Photos You Want to Include and Upload Them to Your Mixbook Account
While we are listing this as step 3, if you’re feeling overwhelmed, it’s perfectly okay to select, upload and organize your photos in your account before starting your photo project.
When selecting photos, we recommend first saving photos you like best, then narrowing them down based on what your end goal is and the quality of the photo. Keep in mind, print books require higher quality photos so they don’t get warped or blurry once they are enlarged and printed. If you aren’t sure if a photo is high quality, the photo editor will alert you by placing an alert on the photo when you’re designing your book.
Step 4 - Organize Your Photos in Albums
Once your photos are uploaded to the Mixbook site (where they can be stored for free) you can organize them by when they were taken or when they were uploaded to your account. Want a more organized way to store your photos? Create photo albums that allow you to group photos however you’d like.
Step 5 - Add Your Photos to Your Project
Mixbook gives you the option to add your photos manually or our platform will add place them in the book for you. Photos will be placed in chronological order, but if you’d like some customization, move the photos around wherever you’d like.

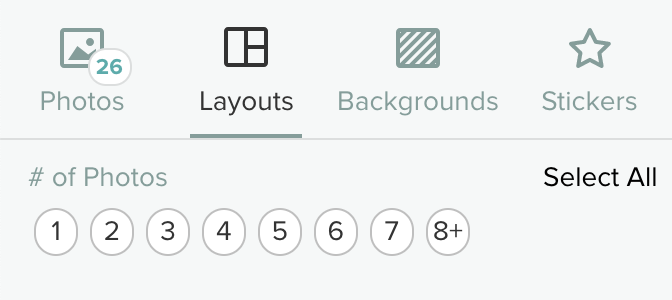
Step 6 - Customize, Customize, Customize
Want five photos on one page and two on another? How about a different background design? Mixbook’s photo tool allows you to customize everything - from the number of photos on a page to background colors, text and stickers. Each tool allows you create a product perfect for your story and can be changed anytime before ordering until you’ve got the perfect product.
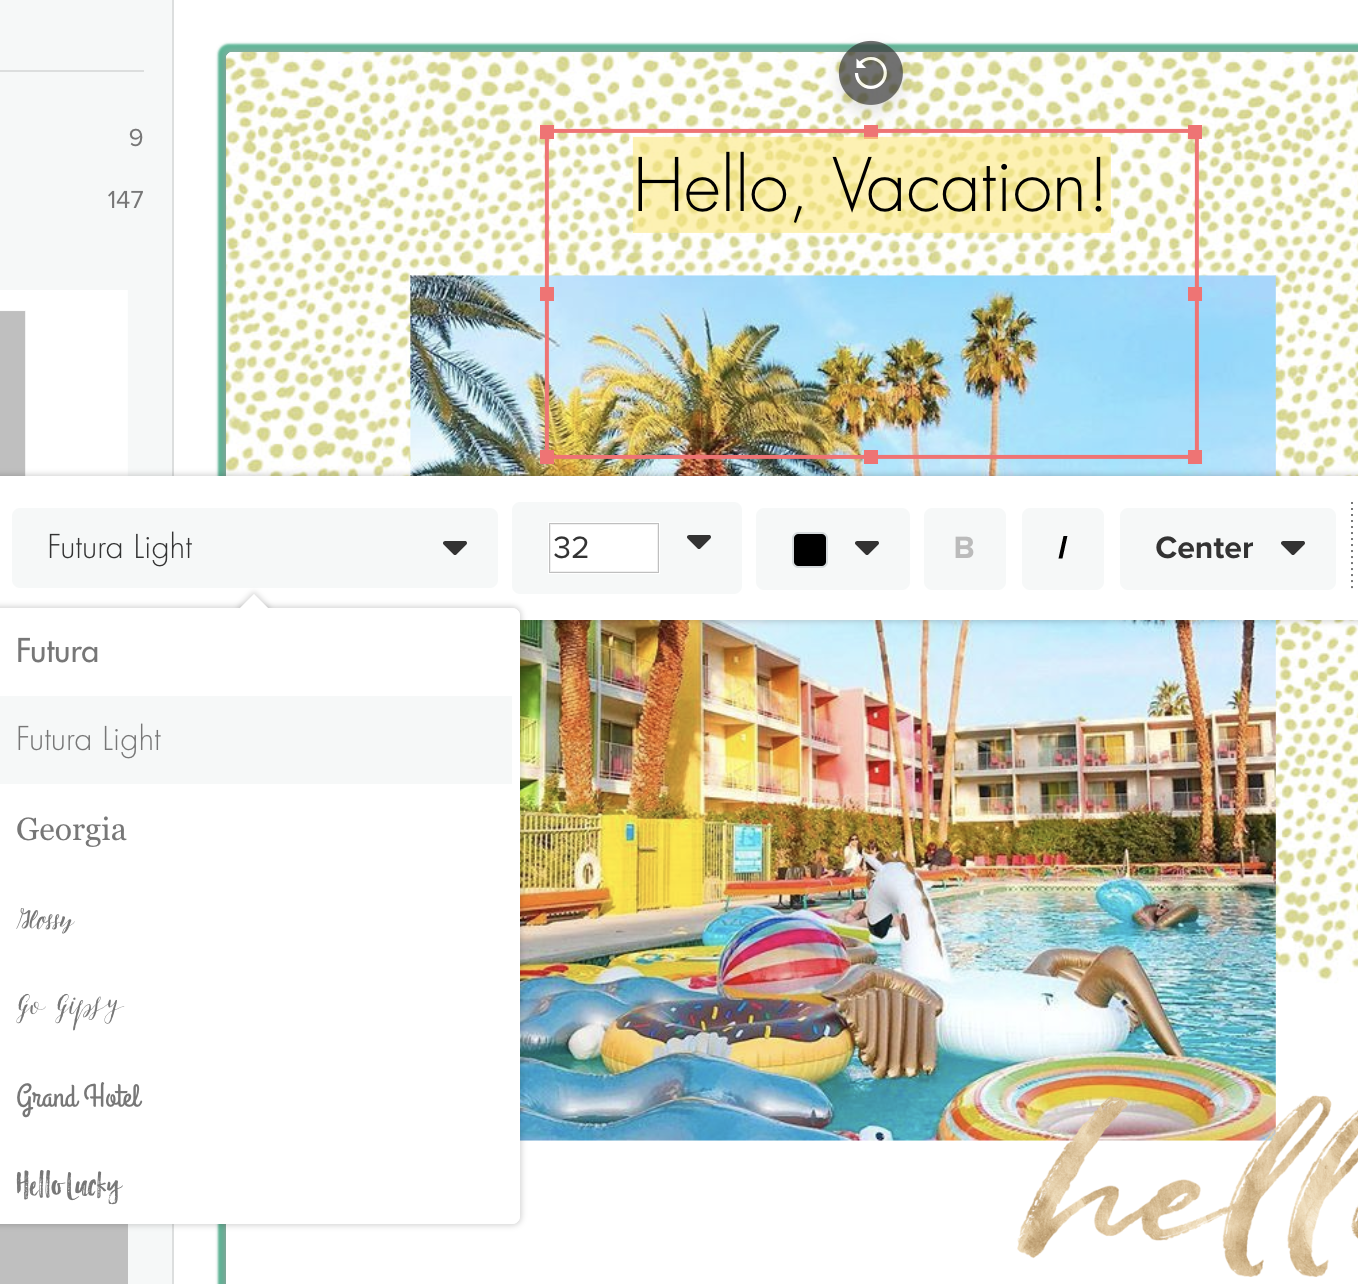
Bring your photos story to life by using the text tool to caption photos, add dates, share stories or highlights from an event. Adjust fonts, text size and color so the content fits seamlessly with your entire book. Be aware of how photos and text line up and make sure they do not overlap or else it may be difficult to read once it’s printed.
Stickers can add a simple, but creative touch! Use the recommended stickers or search for something specific like “Christmas” or “Love” to see more options. Remember, sometimes less is more so be aware of how many stickers you’ve added to a page and where you’ve placed them so they aren’t covering any important content.
Step 7 - Preview Your Book
Once you’ve gotten everything in place, one of the most important things you can do is preview your book. Make sure photos are placed and formatted properly; your text is the right font style/size/color and tells the story you want (and is spell checked); and if you’ve been jumping back and forth between pages, make sure you aren’t missing content on any page. If everything looks good (you may want someone else to review it too!) it’s time to order. Once you click “checkout,” you’ll have another chance to update the paper and cover style. Once you’ve confirmed your paper and cover style, add your product to your cart and it’s time to print.

For the latest Mixbook deals, follow us on Instagram, Twitter, and Facebook.


