Tips for Creating Holiday Themed Address Labels
Tips for Creating Holiday Themed Address Labels
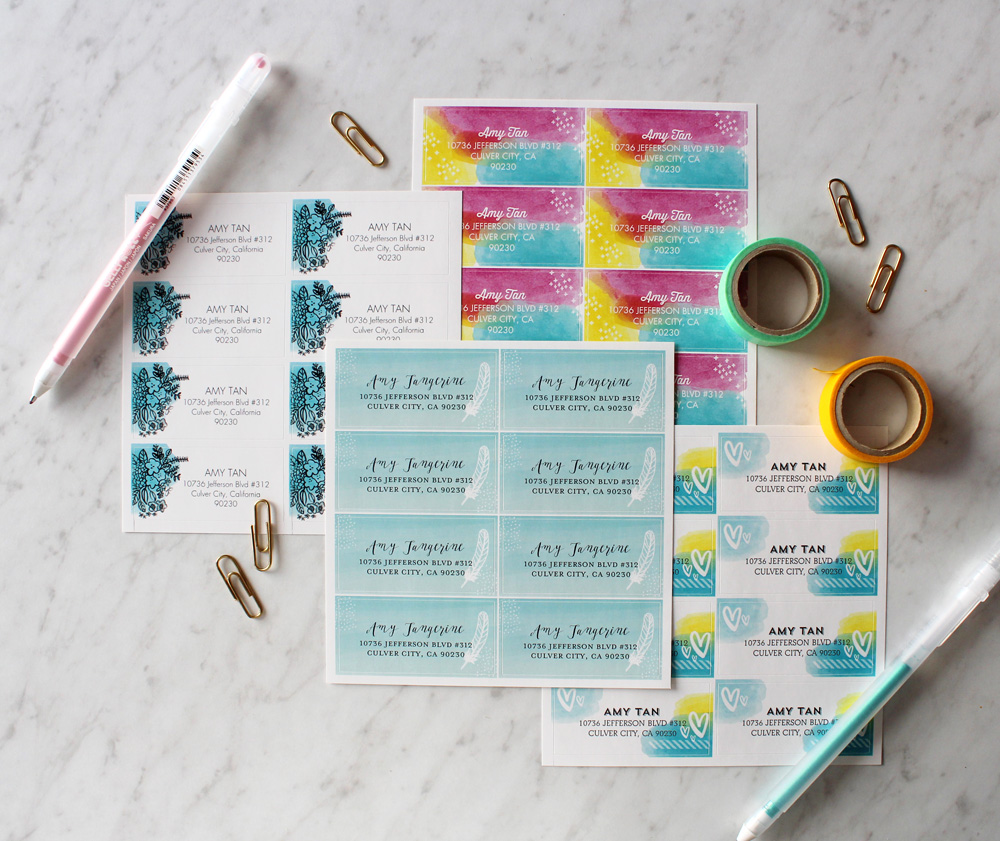
Holiday address labels add a classy touch to your Christmas cards and greetings of the season. Holly, evergreens, and other seasonal designs deliver a pop of color and festive charm to your holiday card mailings.
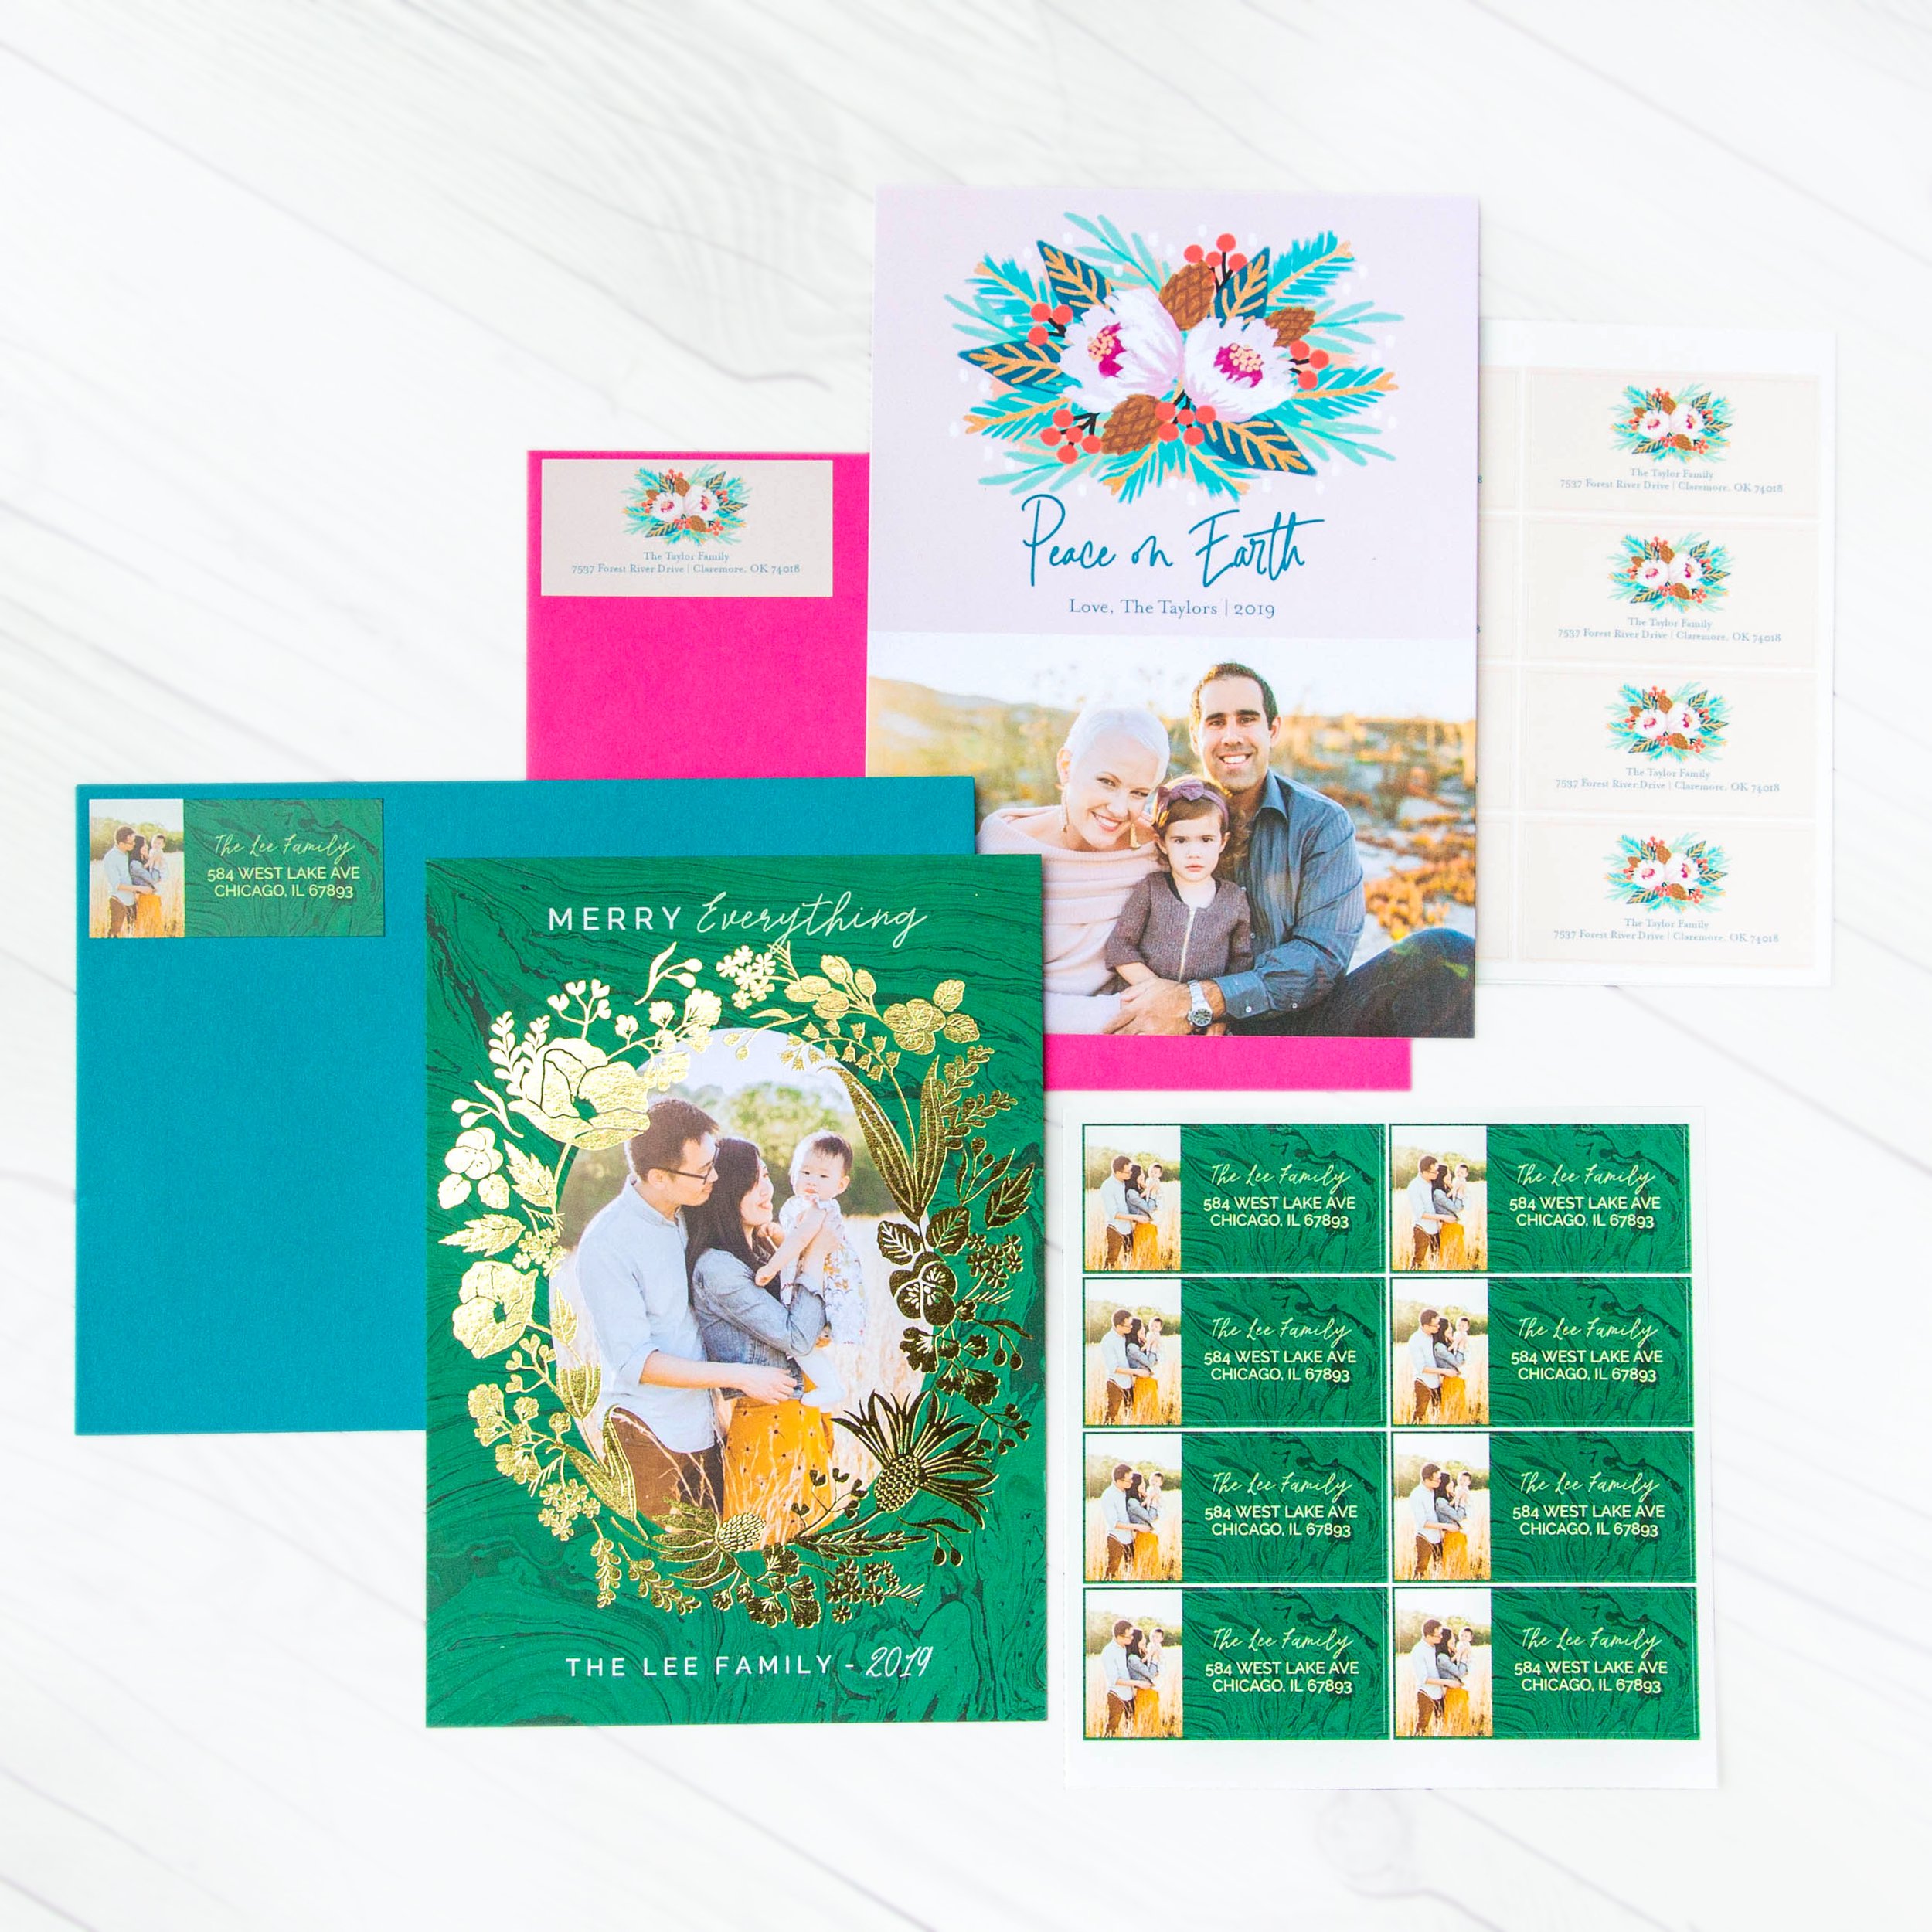
Not only are they beautiful to see, but Christmas address labels lend convenience and shorten the amount of time necessary to prep and send out your holiday cards. Imagine writing all of those addresses by hand!
How do I make my own address labels?
Making your own address labels is easy when you use Mixbook's versatile and user-friendly software. Simply choose an address label template you like and personalize it with your name and address. You can even add a photo or sticker graphics if you like.
What should I include on my address labels?
When creating custom return address labels for the holidays, be sure to enter your name or family's name along with your complete mailing address. If desired, you may also include personalization like tiny sticker graphics.
Try these holiday address label tips to personalize your greetings during the most wonderful time of the year.
How to Create Address Labels
If you've never designed your own return address labels, you may be wondering, "How do I make Christmas address labels?" Luckily, creating holiday address labels is quick and easy with Mixbook's user-friendly editor.
Follow these steps to make your own return address labels for your Christmas cards and holiday messages.
1. Log into Mixbook and navigate to the Address Labels page.
2. Choose Start a Blank Label or browse through the vast array of holiday address label templates.
a. You can filter by color to find styles that match your holiday cards or personal sense of style.

3. Click the address label you'd like to personalize.
4. Review the pricing and delivery date, and then click Create Now.

5. If desired, choose a photo from your library and click Add to Project or upload a new one.
6. Click and drag a photo onto the page where you would like it to appear. You can move it until it's in the correct location. (A vertical yellow line appears when it is perfectly centered.) Note that you can also rotate, flip and edit the photo if needed.

7. Double-click the sample text for the name on the top line of the holiday address label to edit the name. Delete the sample text and type your preferred family name.

8. Click outside of the text box into the white space to deselect the text box.
9. Double-click the next address line to add your street address. Follow the same steps to enter your city, state, and town.
10. Consider whether you would like to further personalize your Christmas card address labels with lovely and unique backgrounds or festive sticker graphics.
a. To add a background: Simply click BCKGRDS on the left sidebar and click the background you would like to use.

b. To add a sticker graphic: Simply click STICKERS on the left sidebar, search to find one you like, and drag your selection onto the canvas.

If needed, resize the sticker graphic by clicking and dragging from the corners.
11. Once you are happy with your design, click Preview to review your holiday address labels. Be sure to double-check spelling and image placement.

12. Click Order and then consider rating your experience! Then, click Submit and Continue to Order to review your shopping cart.
13. Choose a quantity and review your order details. Finally, click the Checkout button and complete your order.

Making holiday address labels at Mixbook is easy and so much fun! Your loved ones will love seeing your personalized mailing labels this winter season.
Happy Holidays!