How to Use Mixbook’s Newest Feature: Theme Explorer
If there’s one thing that Mixbookers rave about the most, it’s the huge number and variety of themes available from Mixbook. Hundreds of design themes make it incredibly easy to create a beautiful, high-quality photo book that suits your personal style. Now, it’s even easier, thanks to the new Theme Explorer available on desktop and mobile web.
The Theme Explorer shows instant previews of your own photos inside a theme’s template. You’ll see a personalized version of any photo book theme while browsing, filtering, and scrolling. As always, all the themes are free and 100% customizable, including the designer collection.
What Is the Theme Explorer Feature?
Whether starting a photo book with a clear vision or looking for inspiration as you browse, the Theme Explorer is an incredibly valuable new tool.
The process of creating a photo book typically begins with browsing design themes. You could start by scrolling through all themes and looking for those that catch your eye. Most Mixbookers narrow the options by categories and filters like birthday, holiday, or mobile-friendly.
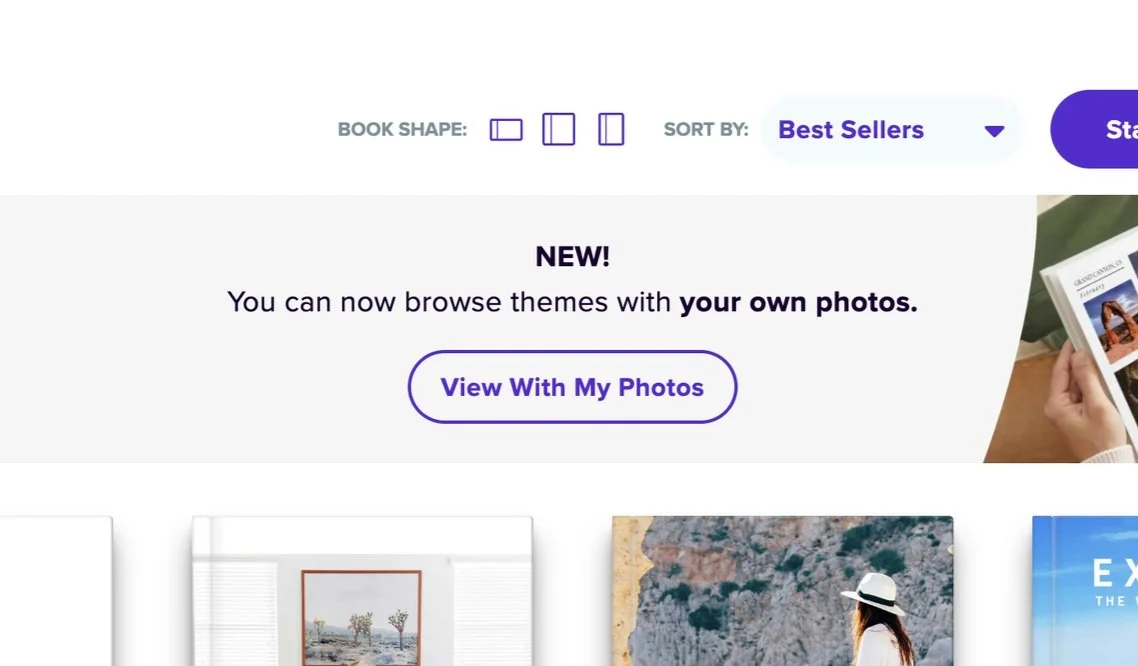
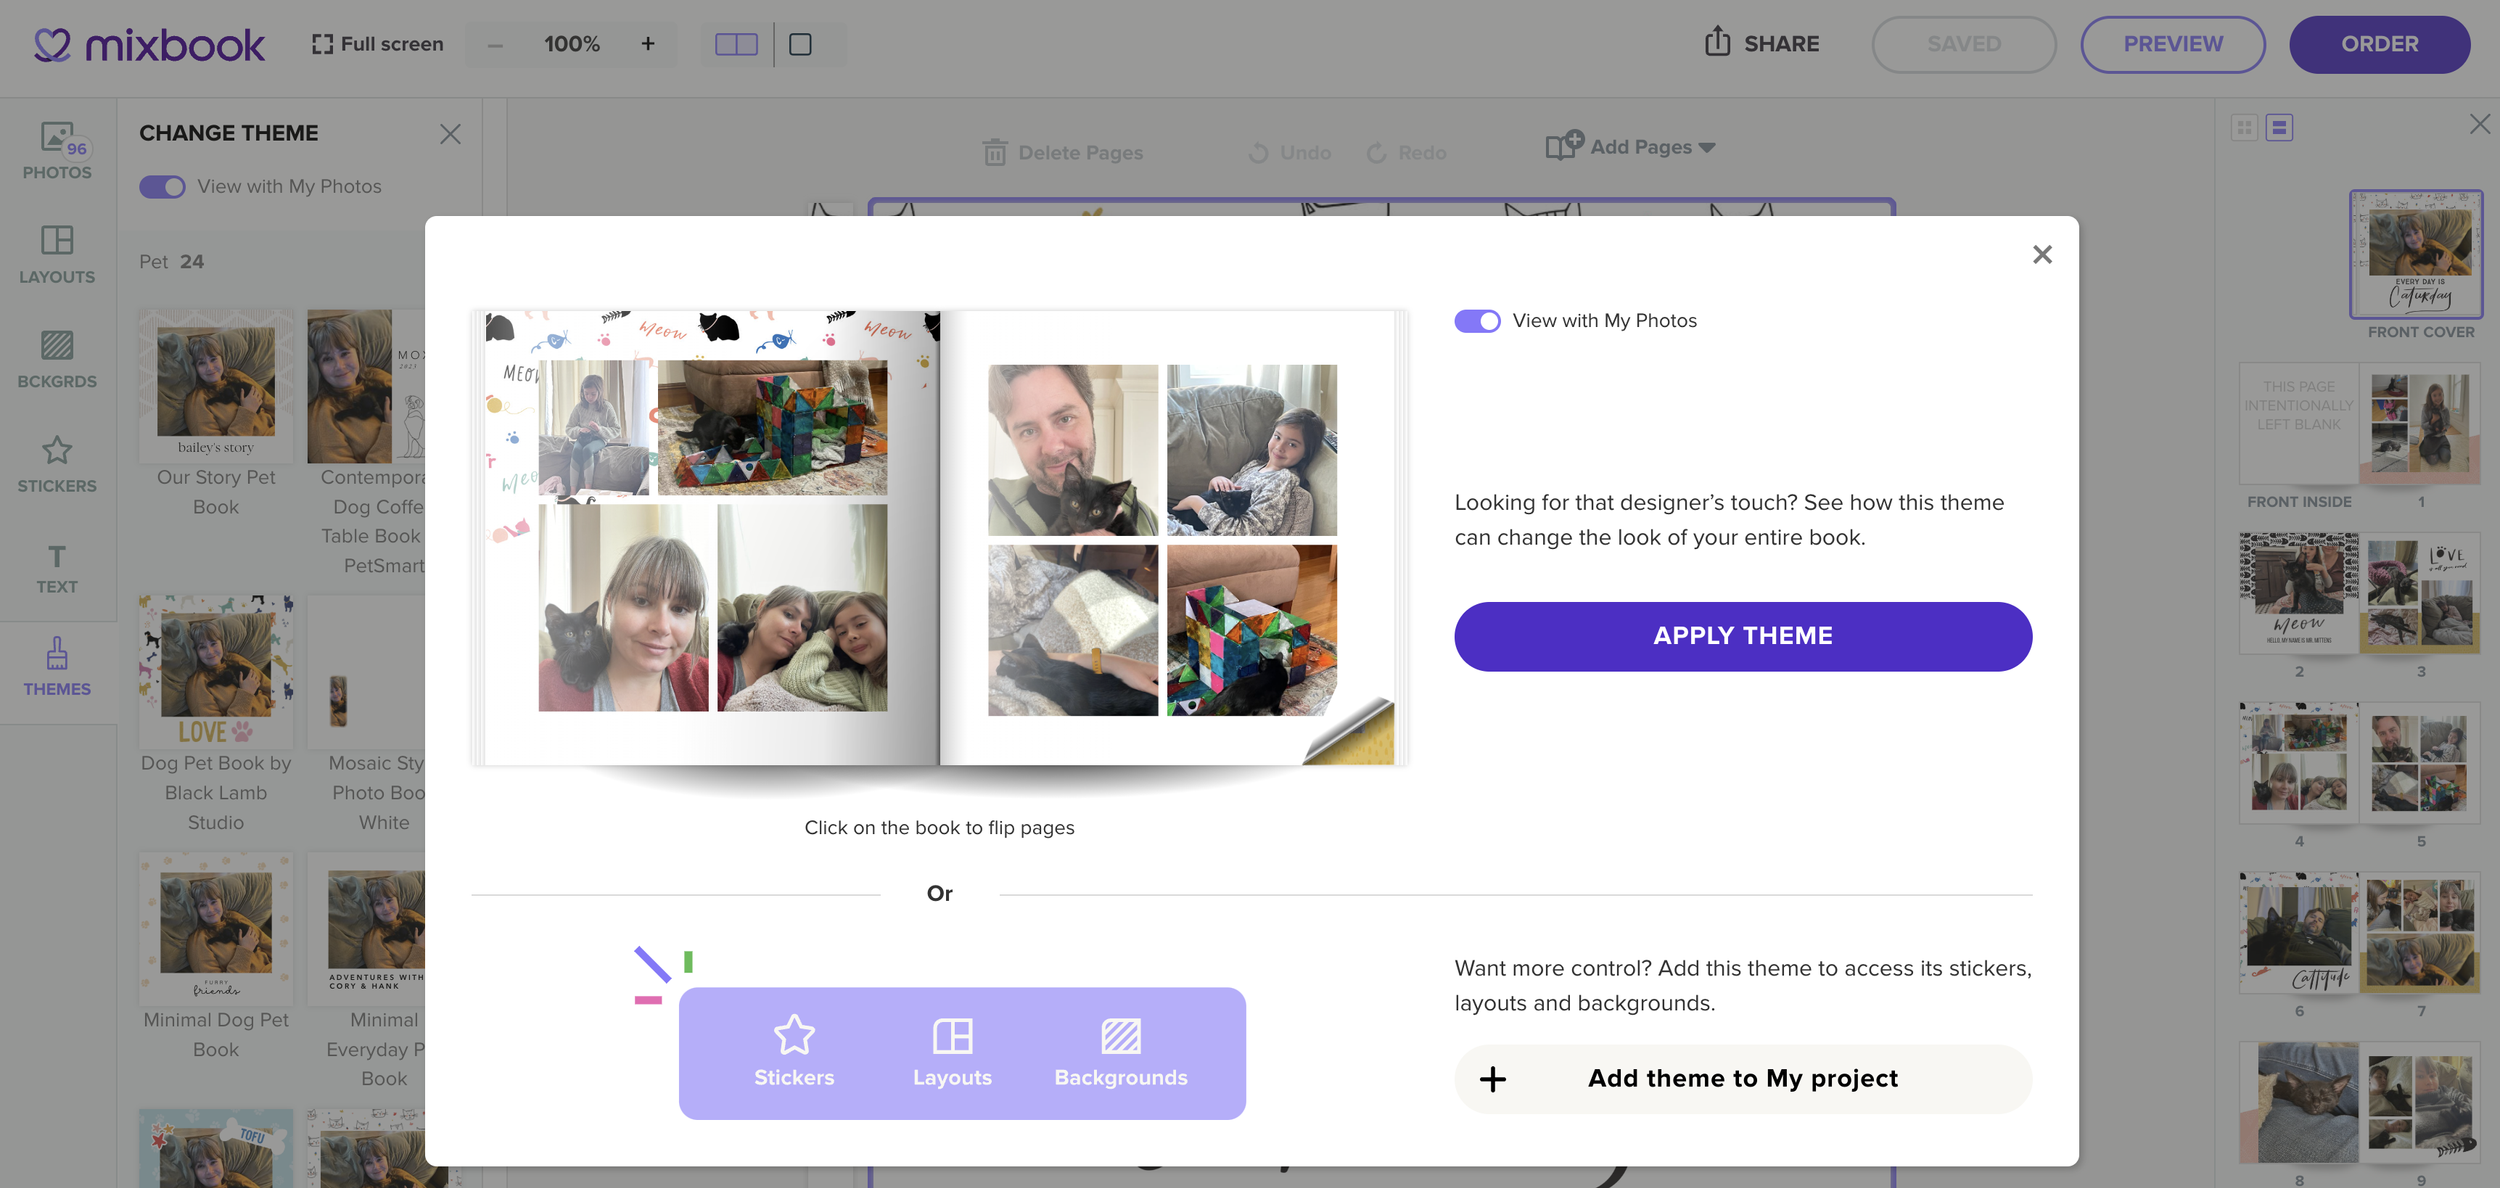
With the traditional way of browsing themes, you’ll see versions of photo books with stylish stock images and placeholder text. The Theme Explorer feature instantly fits your photos into those themes instead. This gives you an accurate, personalized preview of any potential photo book creation. You’ll get a preview of the cover and multiple inside pages. Instead of imagining what a theme will look like with your photos, you can see it instantly while browsing!
The Theme Explorer makes it easier and faster to find the ideal design and get started with your photo book. Not only can you try different themes but different book shapes as well.
How to Use the New Theme Explorer
To try out the new Theme Explorer, navigate to the photo books page. There’s zero commitment to using the new feature — you can just play around with it, explore design themes, and enjoy being creative.
Step 1: Upload Some Photos
Upload at least five photos to get started. For a full book preview, upload at least 20 photos. Remember, you can instantly replace, add, move, and remove photos at any stage and get updated previews.
Step 2: Filter Themes by Category
Mixbook’s design themes are sorted into more than 20 categories, so it’s easy to filter by themes that suit your needs. Some are intended for a specific type of book, such as cookbooks and yearbooks. In contrast, others are more general with endless potential applications, such as simple or everyday photo book themes.
Within those categories are varied aesthetic styles as well. You can find, for example, a minimalist baby book theme, a floral boho wedding theme, and a tropical cruise travel book theme.
Related: Selecting the Perfect Photo Book Theme: A Comprehensive Guide
Step 3: Preview a Book
Explore themes further by clicking on the different photo book covers that could fit your vision or suit your style. The Theme Explorer automatically replaces the stock photos with your own. It also makes any necessary adjustments to the theme to fit around your photos and present an accurate preview.
Step 4: Try Different Book Shapes
You can preview different book shapes anytime while browsing with the Theme Explorer. Mixbook’s photo books are available in landscape, portrait, and square configurations. (Square is the most popular option.) It’s always a good idea to see how your photo book looks with these different shapes before making any final decisions.
(Remember, you can also add pages and choose different papers, sizes, and cover types later in the creation process.)
Step 5: Create Your One-of-a-Kind Story
When you find your favorite theme, it’s time to create a full photo book. At this point, you can customize all the following features of your book:
Edit photos: The Mixbook Studio has powerful, easy-to-use tools for cropping, resizing, rotating, and adjusting the lighting. You can add special effects such as sepia or black and white, add a custom border, a shadow effect, and more.
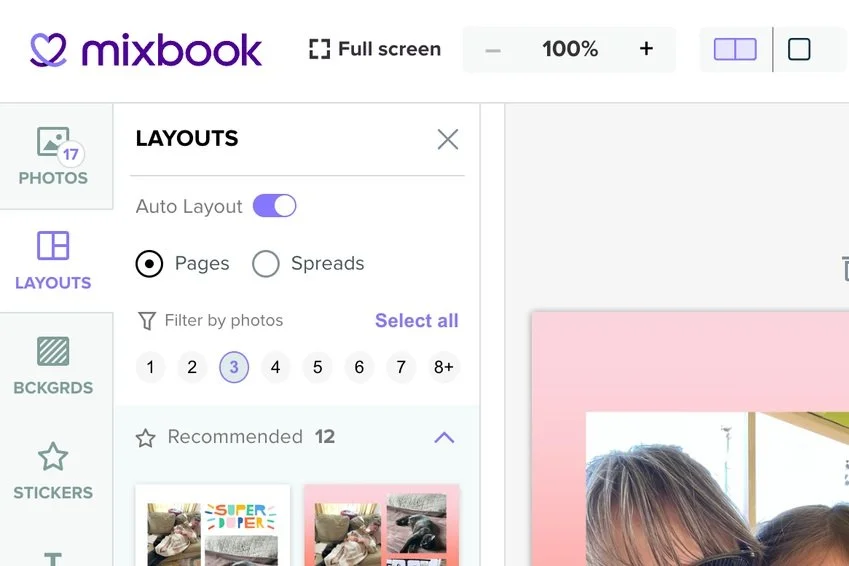
Play with layouts for visual variety with photos of different sizes, orientations, and arrangements.
Customize backgrounds, including solid colors and artistic designs.
Add stickers, including custom stickers, for aesthetic flare.
Add custom text for captions, quotations, and meaningful phrases.
None of these changes are permanent until you order your photo book, so experiment with all the features and get as creative as you desire.
Step 6: Change It Up!
If you don’t love the theme you selected once you start adding details, try something else! You don’t need to start from scratch. Changing themes within a project is just a click away. Just click Themes and find another option you like better. Once you decide, click Apply Theme.
Ready to Try It Out?
Switch to a different theme, or try a dozen. Are you excited to try out the new Theme Explorer feature at Mixbook? Click here to get started.


