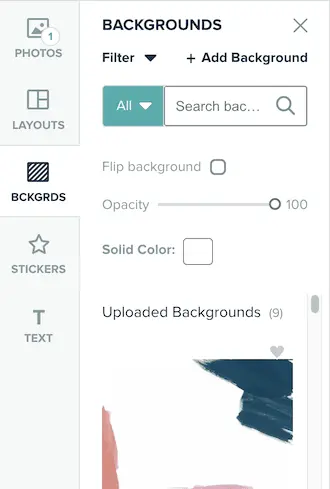
Today, we are going to look at the different ways you can customize your project backgrounds. While we’ve touched on backgrounds before, learning how to upload them yourself and using the Photo Background Fill Tool, we’re going to take a look at yet another way you can alter your backgrounds!
How to Customize Backgrounds

From the Backgrounds Tab, under the Opacity slider, you will see the Solid Color background tool. If you click the color swatch, you’ll be able to apply a solid color to your page.
You can always take advantage of the Color Picker Tool to choose custom colors for your solid backgrounds.
In the previous screenshot, you’ll see an eyedropper to the right of the color wheel. If you click this eyedropper tool, you’ll be able to then move your cursor anywhere on your project to match a color from your photos or spread. Click the color you want to match and it’ll apply to your background. It’ll also be available in your Recent Color swatch.
Background Opacity
The Opacity slider allows you to adjust how apparent the color will be – 0% (sliding all the way to the left) resulting in no color, and 100% (sliding all the way to the right) replacing your background completely.
The following screenshots show a background with various opacity levels.
Using this method allows you to create new backgrounds. This can be applied to Mixbook backgrounds and backgrounds you’ve uploaded (including photos!)
Flip Background
This does exactly what it says. It’ll flip your background on the vertical axis.
This can change the direction of diagonal stripes or simply change an accenting part of the background from the left to right. This can be especially useful when uploading premade pages. If the page applies backward, simply check the Flip Background box and your pre-made page will be applied correctly!
Now that you’ve got your tools, customize away! We’re excited to see what new backgrounds you are able to create with a simple color overlay!
If you’ve missed any of our posts in the Mixbook Editor 101 series, hop on over to this page to catch up! Happy Mixbooking!
Discover more from Mixbook:
Your coupon BACKTOSHOP
is now applied.