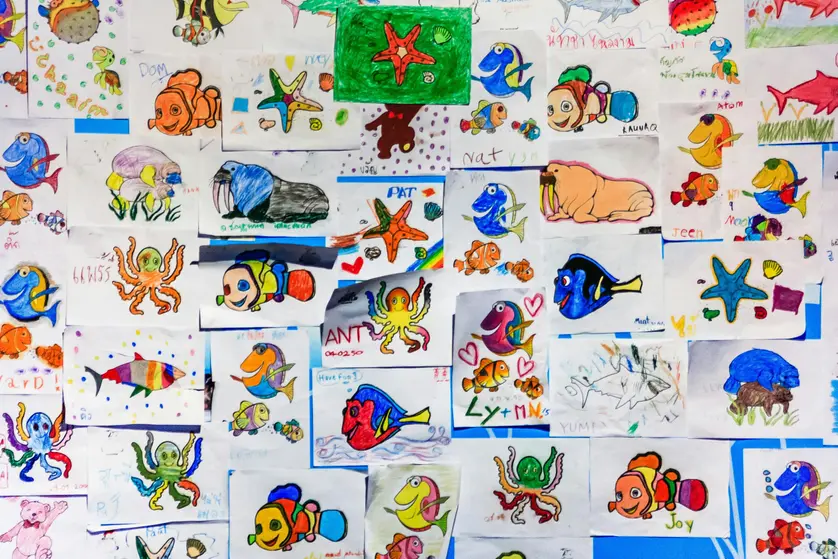
Mixbook has a huge variety of stickers and backgrounds available for designing the pages of your custom photo book. Simply open the Stickers or Backgrounds panels in Mixbook Studio™ and browse, drag, and drop! These choices can totally transform the look of your photo book and boost its storytelling potential.
For even greater creative power, you can also design your own stickers and backgrounds—easily and for free. Here’s how:
How to create custom stickers
Any digital image can be transformed into a Mixbook sticker. This includes digital artwork and graphics, photographs, and AI-generated images. You can also scan physical media to digitize it and turn it into a custom sticker. Draw, paint, sketch, or doodle your own stickers, or scan your own hand-lettering for typographic stickers.
Remove image backgrounds for free
To function as a sticker, it’s best for an image to have no background or a transparent background. If the digital image you want to use as a sticker has a solid background, you can remove it using image editing apps or software such as Adobe Photoshop, or free alternatives such as:
Related: How to Manually Remove Backgrounds from an Image for Your Digital Scrapbook
Select the best sticker file size & format
For the best results, Mixbook recommends your custom stickers have dimensions of a minimum of 2400 pixels for the longest side. You might need to resize your sticker, which you can typically do in the same editing app or software you used to remove the background.
Mixbook recommends using the PNG file type for stickers because this format supports transparency. You can use JPEG or JPG as an alternative, but be aware that the backgrounds might appear white instead of transparent. When you place the sticker over a white background, it isn’t usually an issue. However, your sticker might have a white outline when you place it over a non-white background.
How to upload your custom sticker
When you have downloaded your sticker file, follow these steps to upload it to Mixbook Studio™:
1. Open the Sticker panel on the left-hand side of the workspace
2. Select + Add Sticker at the top.
3. You’ll see this window pop-up. Select Upload Stickers.
4. Click UPLOAD STICKERS and select your sticker(s) file(s).
Once uploaded, your stickers will appear in the Sticker panel under Uploaded Stickers, and will be available for all your Mixbook projects. Simply drag and drop your sticker to place it on your page.
You can resize or rotate the sticker on the page, and edit it using tools in the pop-up menu. Use the “forward” and “back” buttons in the menu to position your stickers over or under other design assets (like photos and text) and create a layout you love.
How to create custom backgrounds
Just like making your own stickers, you can upload any digital images as custom backgrounds to use in a Mixbook. Scan physical artwork or memorabilia to digitize it, whether it’s art you created yourself, or a scannable piece of media such as a page from an illustrated book, a piece of fabric, or personal memorabilia.
Background sizes & formats
For the best fit on a Mixbook page, your digital image should have the exact dimensions as follows, plus a “bleed area” around the entire image. Use your preferred image editing app or software to resize the file.
- Square photo books: 4429 x 4499 pixels with a 295 x 299-pixel bleed
- Landscape photo books: 4499 x 3473 with a 299 x 231-pixel bleed
- Portrait photo book: 3433 x 4499 with a 228 x 299-pixel bleed
For custom backgrounds, use a JPG file at the highest quality for the best results. HEIC and PNG files are also suitable.
Related: What is the recommended file format & quality specs for my photos?
How to upload custom backgrounds
Follow these steps to upload your custom background in Mixbook Studio™:
- Open the Backgrounds tab on the left of the work space
- Select Upload Backgrounds
- Follow the same process as for uploading custom stickers: Click Upload Backgrounds in the pop-up menu and upload your file.
Your custom background will now appear in the Backgrounds panel, and be available for use in any Mixbook project. Drag and drop it onto any pages where you want to use it. Try adjusting the opacity of your background—the slider tool is in the Backgrounds panel.
Ready to design your own stickers & backgrounds?
While creating and uploading your own custom stickers and backgrounds sounds like an advanced technique, it’s actually super easy. Try it out with a fun, casual project like a birthday book or kids photo book, and the results promise to be one-of-a-kind.
